How to Identify Minerals in 10 Steps
How to Identify Minerals in 10 Steps
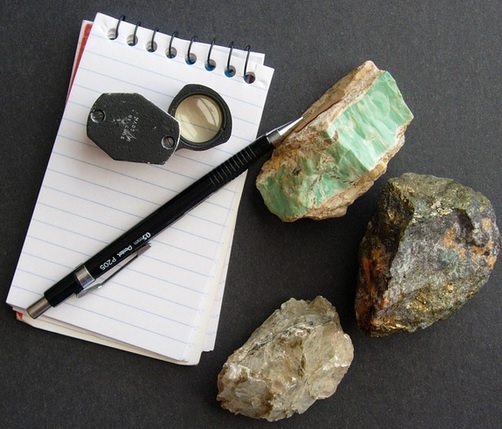
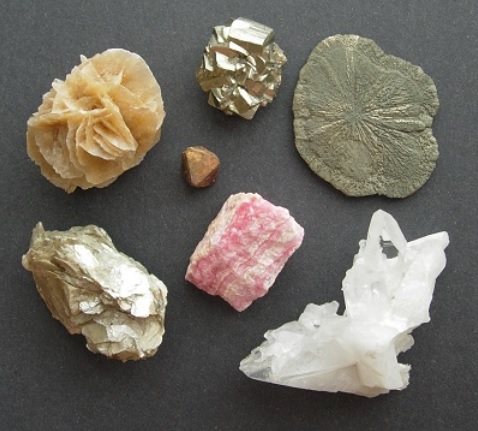
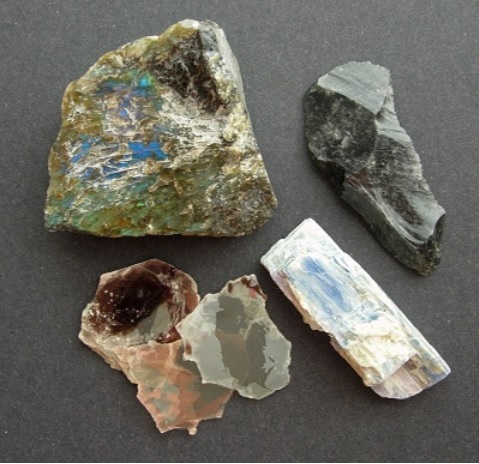
Step 1: Pick Your Mineral
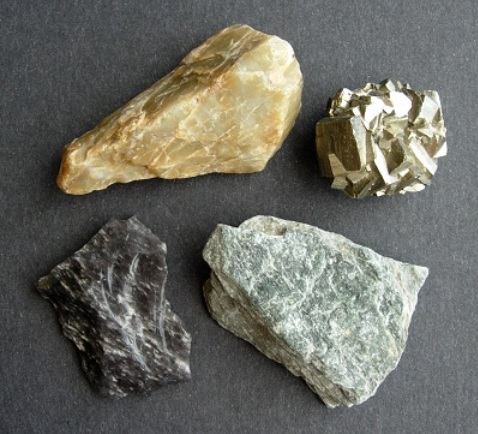
Step 2: Luster
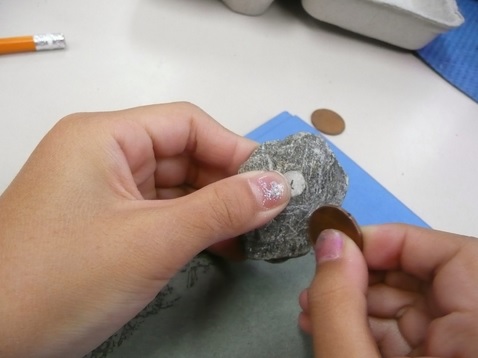
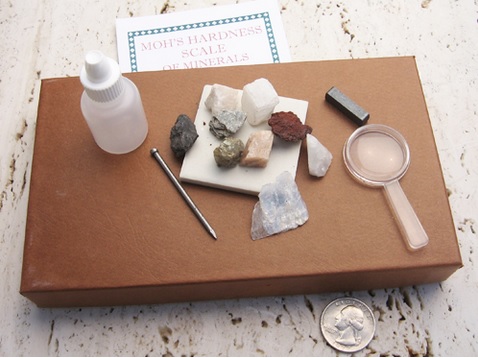
Step 3: Hardness
Step 4: Color
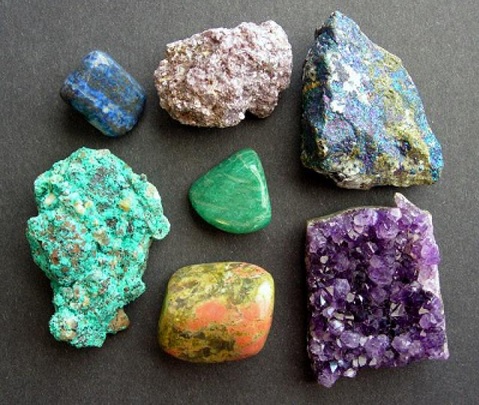
Color is important in mineral identification, but it can be a complicated subject. Experts use color all the time because they have learned the usual colors and the usual exceptions for common minerals. If you’re a beginner, pay close attention to color but do not rely on it. First of all, be sure you aren’t looking at a weathered or tarnished surface, and examine your specimen in good light.
Try to be precise with color. Is it a pale or deep shade? Does it resemble the color of another common object, like bricks or blueberries? Is it even or mottled? Is there one pure color or a range of shades?
Step 5: Streak

Streak is the color of the finely crushed mineral. Streak is somewhat more reliable than color and is essential for a few minerals. You’ll need a streak plate or something like it. A broken kitchen tile or even a handy sidewalk can do. Scratch your mineral across the Streak plate with a scribbling motion.
Step 6: Crystal Form and Mineral Habit
One thing even beginners can do, though, is to observe a mineral’s habit, the general form it takes.
Step 7: Cleavage and Fracture
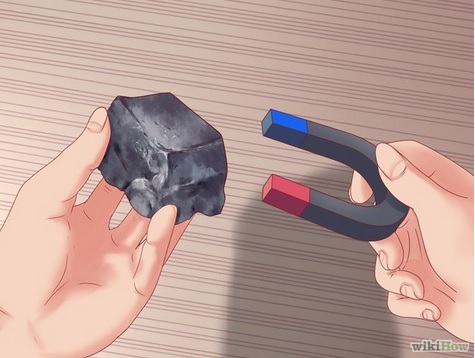
Step 8: Magnetism
Step 9: Other Mineral Properties
Step 10: Look It Up

.
.

 Previous Post
 Next Post